Table of Contents
Organize Your Pantry : Transform Your Kitchen with a Well-Organized Pantry
A well-organized pantry is more than just a tidy space—it’s the foundation of an efficient and enjoyable kitchen. Imagine reaching for an ingredient and finding it instantly, or knowing exactly what you have without rummaging through cluttered shelves. Organizing your pantry saves time, reduces stress, and can even help you save money by avoiding expired or duplicate items. Whether you’re an avid cook or someone who values simplicity in daily routines, a thoughtfully arranged pantry can make a significant difference in how you approach your meals.
This guide is here to help you create a pantry that works for you. With simple strategies like decluttering, categorizing items, and maximizing space using adjustable shelving and clear containers, you can turn your pantry into a space that inspires creativity and order. By learning how to group similar items, track expiration dates, and make use of vertical storage, you’ll not only enhance your kitchen’s functionality but also elevate your cooking experience.
No matter the size of your pantry, these tips and tricks will empower you to create a system that suits your lifestyle. Let’s dive in and unlock the full potential of your pantry, transforming it into an organized, efficient, and stress-free space.

Key Takeaways: Essential Tips for an Efficient and Organized Pantry
An organized pantry is a game-changer for your kitchen and overall meal prep. These key takeaways summarize the most effective strategies for turning your pantry into a streamlined and functional space:
- Declutter Regularly
Start by taking inventory and removing expired or unusable items. This clears space for fresh ingredients and ensures you only keep what’s essential. Donate unopened, unexpired items you no longer need to food banks or shelters to reduce waste and help others. - Utilize Clear Containers and Labels
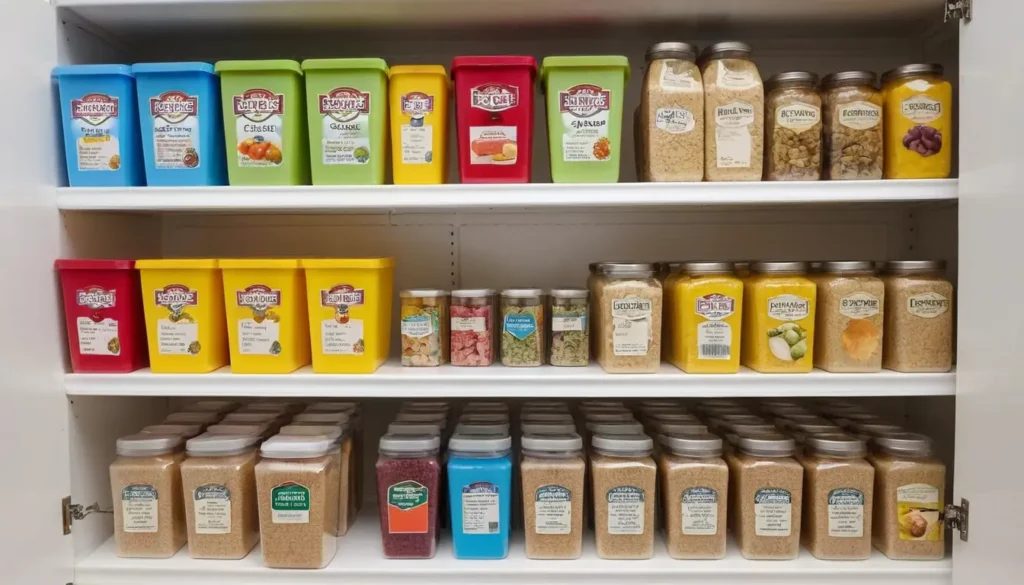
Transparent containers make it easy to see what’s inside, helping you track inventory without opening lids. Adding labels ensures every item has a designated spot, improves accessibility, and gives your pantry a cohesive, tidy appearance. - Create a System for Expiration Dates
Avoid food waste by organizing items with the “first in, first out” method—place older items upfront to use first. Label containers with purchase or expiration dates to make tracking freshness effortless. - Group Similar Items
Categorize pantry essentials into groups like baking supplies, canned goods, snacks, and spices. Store them in dedicated areas to quickly locate what you need and maintain order. - Maximize Vertical Space
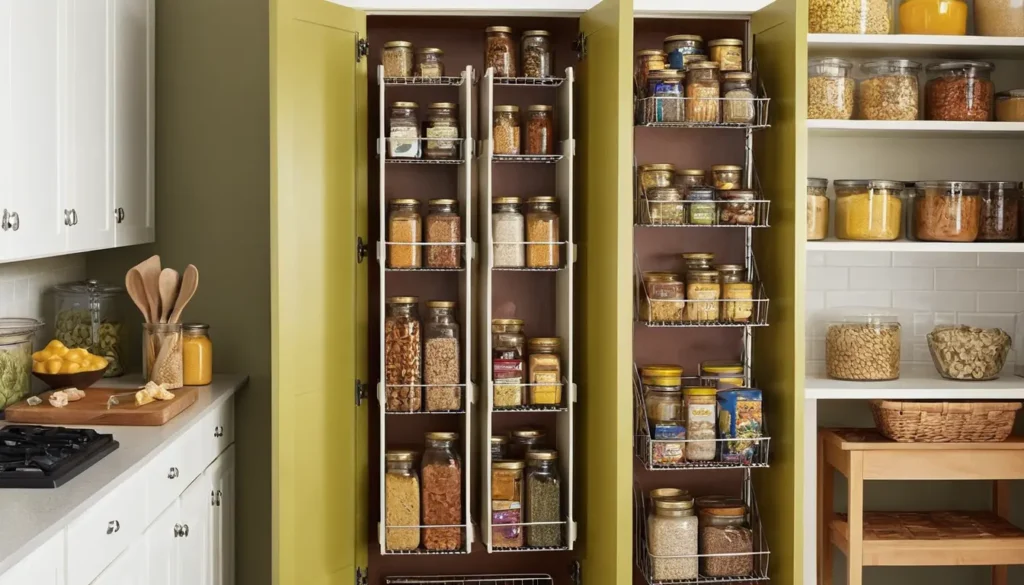
Install adjustable shelving, wall-mounted racks, or door organizers to utilize every inch of your pantry. Store less-used items on higher shelves and keep everyday essentials at eye level for easy access. - Maintain Your System
Regularly review and adjust your pantry setup as your needs evolve. This prevents clutter from building up and ensures your organization system remains effective over time.
By applying these practical tips, you’ll create a pantry that not only looks great but also saves you time, reduces stress, and enhances your kitchen efficiency. Start small, stay consistent, and enjoy the benefits of a well-organized pantry!
Declutter and Purge Expired Items: A Fresh Start for Your Pantry
The first step to an organized pantry is decluttering and purging expired or unnecessary items. This process not only clears space but also ensures your pantry is stocked with fresh and usable ingredients. Here’s how to get started:
1. Check Expiration Dates
Begin by thoroughly reviewing every item in your pantry. Look for expiration dates on canned goods, spices, and dry items like flour or rice. Discard anything that has passed its prime to prevent clutter and potential health risks.
- Pro Tip: Create a habit of checking dates regularly to avoid accumulating expired goods in the future.
2. Create a System
Establish an easy-to-follow system for managing your pantry items:
- Place older items at the front of shelves so they’re used first (“First In, First Out”).
- Use labels or markers to note purchase or expiration dates on items without visible markings.
3. Donate Usable Items
Not all unwanted items need to go to waste. If you have unopened, unexpired goods that you won’t use, consider donating them to a local food bank or shelter. These items can make a big difference for families in need.
4. Properly Dispose of Expired Goods
For items that can’t be donated, dispose of them responsibly. Recycle packaging when possible, and compost expired dry goods like flour or grains if you have a composting system.
Benefits of Decluttering
- Frees up valuable storage space.
- Ensures your pantry contains only fresh, high-quality items.
- Makes meal planning and grocery shopping easier by providing a clear view of what you have.
Decluttering your pantry is a liberating process that sets the stage for a more organized, efficient, and enjoyable kitchen experience.
Create a System for Expiration Dates: Keep Your Pantry Fresh and Efficient
A smart system for tracking expiration dates can save you money, reduce food waste, and keep your pantry organized. By implementing a few simple practices, you’ll always know what to use first and avoid the frustration of discovering expired items too late.
1. Organize with the First-In, First-Out (FIFO) Method
The FIFO system is simple but highly effective. Place newer purchases at the back of your shelves and older items upfront. This ensures that you use older items first, reducing waste and keeping your pantry up-to-date.
- Example: When you buy a new can of beans, place it behind the older ones already in your pantry. This way, the older ones get used first.
2. Label for Better Tracking
Not all items come with clear expiration dates, especially when transferred to storage containers. Use labels to mark the purchase date or expiration date directly on jars, containers, or packaging.
- Tools You Can Use: Use a permanent marker for quick notes or invest in pre-made, reusable pantry labels.
3. Group Items by Expiry
To make it easier to track, organize your pantry into sections based on the shelf life of items. For example:
- Short shelf-life items (like bread or fresh snacks) in one section.
- Long shelf-life items (like canned goods and dried grains) in another.
4. Set Reminders
Use a calendar or a digital app to set reminders for items nearing their expiration. This helps ensure you use them on time, especially for bulk purchases or less-frequently-used items.
Benefits of an Expiration System
- Reduces food waste by ensuring items are used before they expire.
- Simplifies meal planning by clearly showing what needs to be used.
- Keeps your pantry clean, efficient, and clutter-free.
Creating an expiration system ensures that your pantry stays fresh and functional, making meal preparation stress-free and enjoyable.

Donate or Discard Unwanted Items: Declutter Responsibly and Give Back
A clean, organized pantry begins with removing items you no longer need. Whether it’s food that has expired or items you won’t use, decluttering creates space for fresh essentials and helps others when done thoughtfully. Here’s how to handle unwanted pantry items effectively:
1. Separate Usable from Expired Items
Start by sorting through your pantry. Create two categories: items that are still good but unused and items that are expired or spoiled. This step ensures you can responsibly decide what to donate or discard.
2. Donate Usable Items
Unopened, unexpired food that you don’t plan to use can make a meaningful difference for someone in need. Common donation items include:
- Canned goods like vegetables, beans, and soups.
- Dried goods such as rice, pasta, and cereals.
- Packaged snacks or non-perishable condiments.
Donation Tips:
- Check local food banks or shelters for guidelines on acceptable items.
- Ensure donations are within their expiration dates and in good condition.
- Avoid donating opened or partially used items.
3. Responsibly Discard Expired Items
For food that has passed its expiration date or is no longer safe to eat, dispose of it properly:
- Compost biodegradable items like grains or expired produce.
- Recycle cans, jars, and packaging wherever possible.
- Securely seal any discarded food to prevent pests or odors.
4. Prevent Future Waste
To minimize the accumulation of unwanted items:
- Regularly review your pantry.
- Buy only what you know you’ll use.
- Stick to an inventory system that tracks expiration dates and usage.
Benefits of Donating or Discarding Items
- Creates a clutter-free pantry.
- Helps others in need with unused, quality food.
- Reduces waste and promotes sustainable practices.
By donating or discarding unwanted items, you’ll maintain a functional pantry while making a positive impact on your community and the environment.
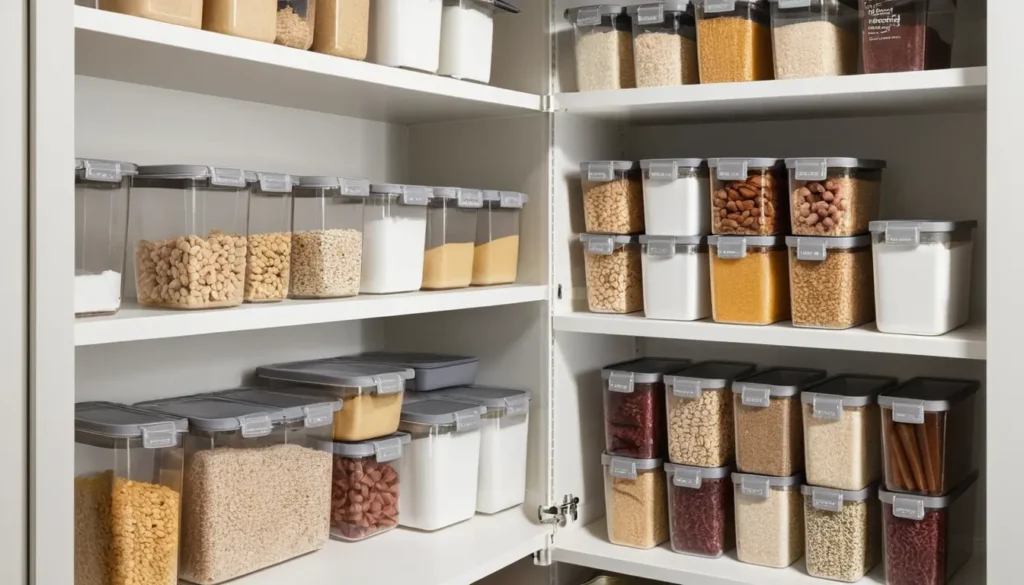
Using clear containers, labels, and adjustable shelving can maximize space and improve organization
Turning your pantry into a neat space can change your kitchen life. Clear containers and labels are key. They help you spot what’s inside and make your pantry look good.
Clear containers are great for a few reasons. They let you see what you have without digging. This makes it easy to check when things expire. With labels, you can keep everything sorted and easy to find.
Adjustable shelving systems also help a lot. They use your pantry’s height to store more stuff. You can change the shelves to fit different sizes, from big to small.
“Implementing clear containers, labels, and adjustable shelving can transform your pantry from a cluttered space to a highly organized and efficient one.”
Using these simple tips can make your pantry better. You’ll save time and feel less stressed. A tidy pantry makes cooking easier and more fun.

Categorize and Group Similar Items: Simplify and Streamline Your Pantry
Organizing your pantry by grouping similar items together is one of the most effective ways to maintain order and save time. By creating specific categories for your pantry essentials, you can quickly locate what you need, reduce clutter, and make your kitchen more efficient.
1. Identify Key Categories
Start by assessing your pantry’s contents and determining common groups. Typical categories include:
- Baking Supplies: Flour, sugar, baking soda, vanilla extract, and chocolate chips.
- Canned Goods: Vegetables, beans, soups, and fruits.
- Snacks: Chips, crackers, granola bars, and dried fruit.
- Grains and Pasta: Rice, quinoa, oats, and spaghetti.
- Spices and Seasonings: Salt, pepper, garlic powder, and herbs.
2. Assign Dedicated Spaces
Once you’ve identified your categories, assign each group to a specific area in your pantry. This could be a shelf, bin, or container. Keeping categories separate ensures everything has a place, preventing overlap and mess.
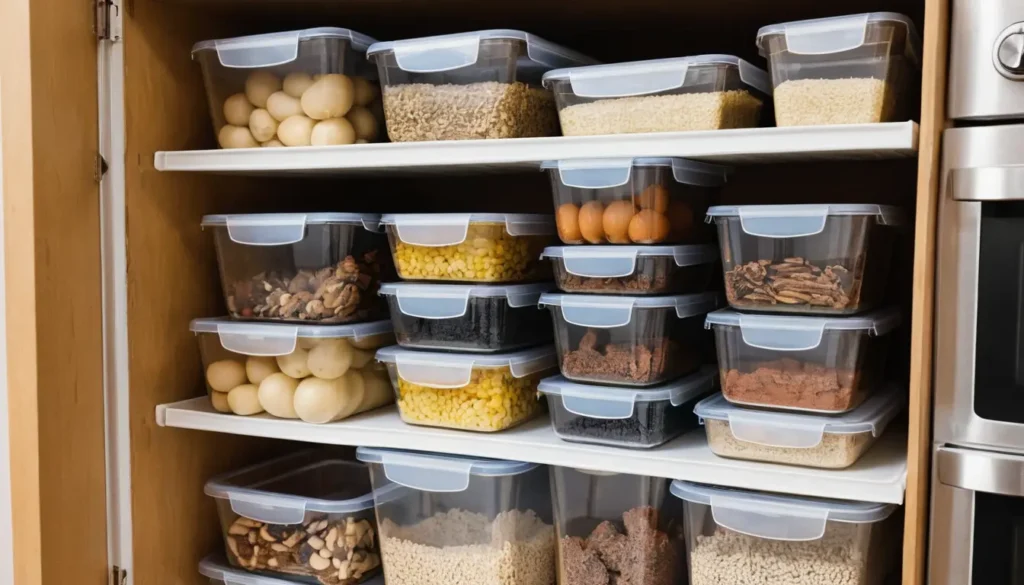
3. Use Containers and Dividers
For smaller items like spices or snacks, use baskets, bins, or clear containers to keep them together. Labeling these containers can further enhance organization and accessibility.
4. Arrange for Easy Access
- Place frequently used items, like spices or snacks, at eye level.
- Store heavier or less-used items, such as bulk grains, on lower shelves.
- Reserve upper shelves for infrequently used items, like specialty baking supplies.
5. Maintain the System
Regularly review your categories to ensure they still meet your needs. Adjust as necessary to accommodate new items or changes in your cooking habits.
Benefits of Categorizing and Grouping
- Speeds up meal prep by reducing search time.
- Prevents overbuying by showing what you already have.
- Keeps your pantry visually appealing and stress-free.
By categorizing and grouping similar items, you create a pantry that is not only functional but also a joy to use. This simple strategy enhances your kitchen’s efficiency and makes meal preparation smoother and more enjoyable.
Utilize Vertical Space and Install Shelves
Don’t overlook the importance of vertical space in your pantry. Installing shelves or adjustable units can make the most of your pantry’s height. This way, you can store more items without losing organization or style.
Maximize Vertical Storage
Vertical storage is a big help for pantry organization. Wall-mounted shelves or tall units can turn a cluttered space into a tidy area. Use every inch of vertical space to keep things you use often within reach. Store bigger, less-used items on higher shelves.

FAQ
How can I declutter my pantry and get rid of expired items?
Begin by checking each item’s expiration date in your pantry. Set up a system to know which items to use first. Then, donate or throw away any unwanted or expired items. This makes room for new, organized storage.
What are the benefits of using clear containers and labels in my pantry?
Clear containers and labels make your pantry look good and easy to use. They let you see what’s inside without opening anything. This keeps your pantry neat and organized.
How can adjustable shelving units improve my pantry organization?
Adjustable shelving units let you change the pantry space for different item sizes. This maximizes vertical storage. It helps you store more items without clutter.
Why is it important to categorize and group similar items in the pantry?
Grouping similar items, like baking supplies and snacks, makes finding things easier. It keeps your pantry organized. This makes cooking and meal prep simpler.
How can I utilize vertical space to maximize storage in my pantry?
Vertical storage is very useful. Add shelves or adjustable units to use your pantry’s height. This lets you store more without clutter.
